We will now define a second field for indicating the priority of a task. As we will sort the tasks according to their priority it's probably a good idea to settle on a fixed list of priorities, e.g.:
- very urgent
- urgent
- normal
- can wait
Sorted alphabetically, very urgent won't come up on top as needed, so we modify the list by prefixing the names of the priorities with a number to guarantee a suitable sort order:
- very urgent
- urgent
- normal
- can wait
For dealing with such values in MoStacks it's best to use a text field that has a drop-down combo box for choosing a value that also makes sure that the text field contains one of the permitted values and nothing else.
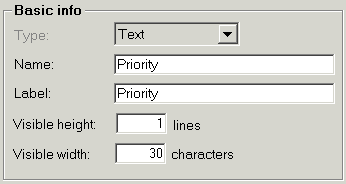
So, click again on the New button, specify again a type of Text for the field in the Type combo box, name the field Priority, and accept the basic info defaults:

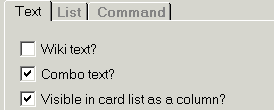
Now for the difference: Tell MoStacks that you want a field with a drop-down combo box attached by checking the flag Combo text?:

Then click the Create button.
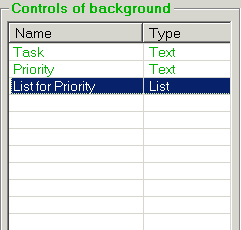
MoStacks implements a combo box as two fields that are linked: a text field and a list field. That's why two fields will be created, one named Priority and a second one named List for Priority. You are informed about this by the following dialog box:

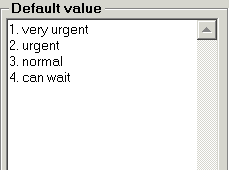
Our fixed set of four priority values will become the "value" of the list field, or more exactly the default value, because regardless of how many task cards we create, the value of the list in the drop-down combo box will always be the same: our set of priorities.
(You find more about list fields and their capabilities in the chapter Lists.)
Select the field List for Priority for modification, in the list of all the fields and controls of the current background on the left:

Enter the priorities in the field Default value on the right, one per line, by using the Enter key:

Finally click on the Modify button to save the modifications.
It's probably a good idea to save the stack for a first time, so that you don't loose all the work done so far should something crash. Do so now by using the Save function in the File menu or the Save button in the button bar. Best use ToDo as file name.
Proceed to Step 4: Create Cards.