We now create some cards so we will have something to work with. Open the window Edit Cards by clicking on the Edit Cards icon in the button bar (the brown one with a C for Cards or by using the Cards.. function in the Edit menu.
The Edit Cards window works with edit modes like the previous window for the fields: You create a new card (of background Task which is already selected, see background list in the upper left corner of the window) by clicking on the New button, specifying a name for the card and clicking the Create button.
After a card is created you can switch to the Card View to enter values for the fields. For one more card, switch back to the Edit Cards window, and so on.
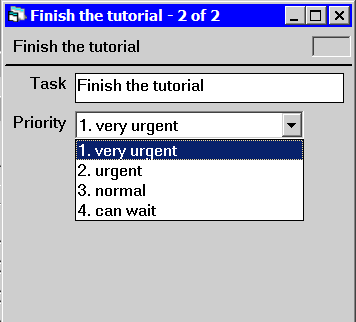
Just create a few cards now in this way, with varying priorities, so that we have a chance to watch sorting in action later on. As a guidance, here are screenshots that show the creation of a card for the task to finish this tutorial, a very urgent affair, of course:


Note that thanks to the Use value as card name? flag for the first field, you don't need to enter values for that field, because the card name that you already gave in the Edit Cards window automatically becomes the value of the first field as well.
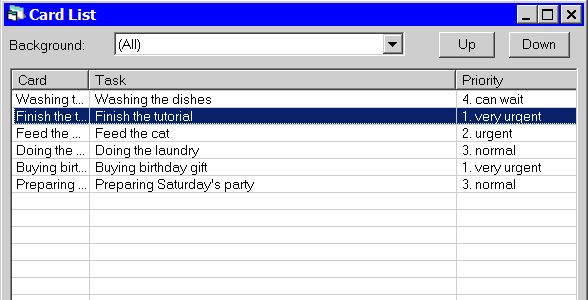
After you created a few cards, the Card List window should look similar to this, listing all the cards for the tasks with the different priorities:

Proceed to Step 5: Sort.