Our "To Do" list stack will have one card for each task that is still waiting for us to tackle it. These will be cards with the background Task. So we now define fields for that background that will determine what information we can enter about each task. (You can read more about this in the chapter Four-Level Hierarchy.)
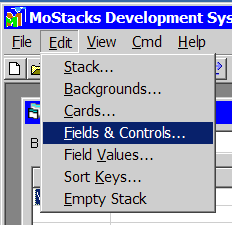
You reach the window for defining fields with the help of the function Fields & Controls... in the menu Edit or the green Fields & Controls button (the one with the F for Fields icon) in the button bar:
The window Edit Fields and Controls appears.
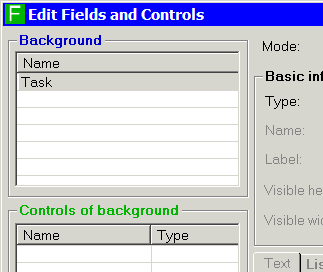
Fields are per background, but we don't have to choose a background first now because so far we have only one named Task that is automatically selected, as you can see in the Background list in the left upper corner of the window:
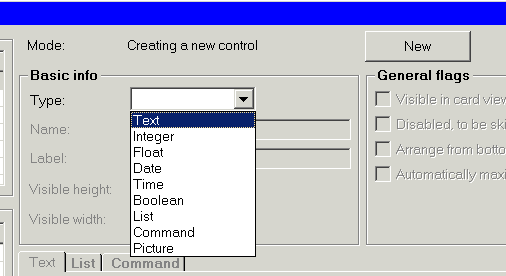
Time to decide about the first field: A task needs a name or a short description so that we know what it's all about. So let's define a field of type Text with a suitable (visible) length of 50 characters. Create the field by clicking the New button and then selecting Text as field type in the corresponding drop-down box:
(You can read more about the different available types in the chapter Field and Control Types.)
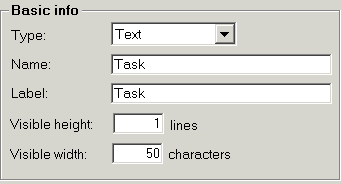
Choose a name of Task for the first field, accept the default label identical to the name, and overwrite the suggested visible field length of 30 with 50. After that the content of the frame Basic info should look like this:
Every card needs a name, as explained in chapter Card Names. In our case here the name of the task serves well as the name of the card. To make our job of creating task cards later easier, we will instruct MoStacks to link the field Task with the card name, by checking the Use value as card name? flag:
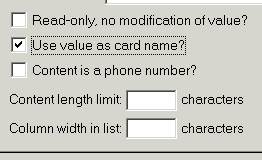
All the other information about the first field either is already set right because of defaults or remains unused/unspecified. Therefore click on the Create button in the lower right corner of the window now:

(You find more about the general principle of creating, modifying and deleting objects in a window like Edit Fields and Controls in the chapter Edit Modes.)
Proceed to Step 3: Define Fields, Continued.